
This section of the embroidery training program will teach you the basics of hooping your garments for embroidery. You will learn about the basic techniques of hooping without a hooping device, the types of embroidery hoops that you will need, the tools that are helpful for marking embroidery design placement, how to mark guidelines inside of your embroidery hoops, how to hold your backing around the embroidery hoop or hooping frames when you are not using a hooping device, how to create a hooping template for centering your design, and many quick embroidery tips!
You will also learn about some of the more advanced hooping devices. There are videos showing you a Hoop Tech embroidery clamp, a border frame for hooping fabric for larger items, and a cylindrical frame. You will learn how to use these attachments in the Embroidery Techniques section. These are just some of the optional frames and specialty hooping systems available for most embroidery machines.
 To watch the videos in full-screen mode, click on the “Enter Full Screen” icon on the right bottom corner of the video.
Video: Basic Embroidery Hooping Techniques
One of the most important elements in the embroidery process is the ability to hoop all of the items properly. You can have a great digitized design and a high quality product, but if your garment is not hooped correctly the whole project can be ruined.
There are some basic rules that are covered in this video that will apply to most embroidery hooping applications. Learn the basic embroidery hooping process and all other hooping processes will be easier. Below is an article that you should click on, download, and print out. Place it in your embroidery binder for quick reference.
Link to Article: The Hooping Basic Rules
Video: Basic Embroidery Hooping Or Framing Requirements
Embroidery Hooping Frames and embroidery hoops are interchangeable terms usually meaning the same thing. However, there are some devices that are truly frames and not hoops, such as your cap frames. I have been in this business for over 32 years and we all started out using the term embroidery hoops, so please don’t get confused when I refer to either the hoops or the hooping frames when I mean the same thing in most situations.
This video will show you the basic embroidery hoops and embroidery hooping frames that you will need in order to run a well rounded embroidery shop. The embroidery hooping frames in this embroidery training video will work for most of your hooping situations.
Since I did this video, I have also added some other hoops. You can read about them in the article below. Click on the link to download and print it out.
Link to Article: Hoop Basics Inventory
Video: Marking Tools For Garments In Embroidery Design Placement
There are specific embroidery marking tools that I find very important to have when I want to place a mark on a garment to find the exact location or placement for my embroidery design. This embroidery training video will show you each of these important tools.
The marking grids that I use can be purchased through our Embroidery Store. Some of the other tools are found at your local sewing machine store and some are available through your embroidery supply house.
I have found that a bar of soap is one of the best marking tools that I have ever used. The marks can be removed very easily by rubbing them with a cloth or a piece of backing. I keep all of my hotel soaps that I get when traveling. I use them to wash my hands with until they are flat and sharp and let them dry out good before using. Do not use a soap that has cold cream or added oils in it.
Video: Holding Embroidery Backing In Place Around The Hoop
Taping the backing around the bottom part of the embroidery hooping frame is a basic embroidery technique and a shortcut to holding the backing in place when you do not have a hooping device. Many times we are faced with projects that we cannot use a hooping device with to hold the backing in place and this is a great alternative.
I discovered this quick embroidery tip when I was faced with trying to hold backing in place on an embroidery hoop that I was placing down the sleeve of a sweatshirt. This embroidery tip will save you a lot of time and frustration when you are trying to put backing inside of various applications.
Video: Marking Guidelines Within The Embroidery Hooping Frame
Marking guidelines within the embroidery hoop or hooping frame is very important in order to make sure that you are hooping your garment straight. Some hoops already have these guidelines marked in them. If yours do not, then it is very important for you to take the time to do this. It will save a lot of time, frustration, and ruined garments.
Video: Create A Hoop Template For Centering Embroidery Designs
Learning how to create a hoop template to use to center your design within your embroidery hoop or hooping frame is very simple. This easy to make tool is very handy when you are training a new operator. I have created one for each size hoop or hooping frame that I use.
I have used this centering method for 35 years for training new operators and it works very well! It is a fool proof method of centering your needle within your embroidery hoop that is simple to explain to that new person!
Video: A Hooping Blanket To Protect Delicate Fabrics
In this embroidery training video, I show you how to make a hooping blanket to protect your delicate fabrics and help with fabric slippage as you are hooping your garments for embroidery. This is especially important if you are working on delicate fabrics such as satin and even the very thin nylon jackets that have no linings.
Video: A Vinyl Window To Hold Hard To Hoop Items For Embroidery
Creating a vinyl window to hold collars, cuffs, and other hard to hoop items is an inexpensive way of being able to work on these types of items when you do not have a clamping system or hoopless frames. Years ago we only had hoops to work with. The embroidery clamps, hoopless frames, and magnetic frames had not come on the market yet. I came up with the idea of this vinyl window and it has worked out very well for me.
I wanted to include this just in case you had an item that you wanted to embroider quickly and did not have access to or have time to order the Clamping System or other alternative. It is a solution that definitely works!
Video: Hoop Fabric On The Tajima Embroidery Border Frame
In this video, I will show you how to install the border frame on the embroidery machine. The border frame is an optional hooping frame that is used to create patches and embroidery in very large areas such as the center of a banner. I will also be showing you how to place the fabric into the border frame for embroidering patches.
Video: How To Install The Hoop Tech Embroidery Clamping System
In this embroidery training video, I show you how to install the Hoop Tech embroidery clamping system. This hooping clamp makes it much easier to work with hard to hoop items. I have 2 different window sizes for this model, the small and the medium. However, there are more sizes as well as models available. The Hoop tech clamps have interchangeable windows which allow you to work with a large variety of items from small to jacket back size. Hoop Tech also makes a variety of specialty hoops that work very well.
Video: Installing The Cylindrical Frame-Tajima Embroidery Machine
In this embroidery training video, I show you how to install the Cylindrical Frame attachment for the Tajima Embroidery machine. This small cylindrical frame is real handy for embroidering inside of small bags like a wine bottle bag, socks, down a sleeve or leg, and inside of a shirt pocket.
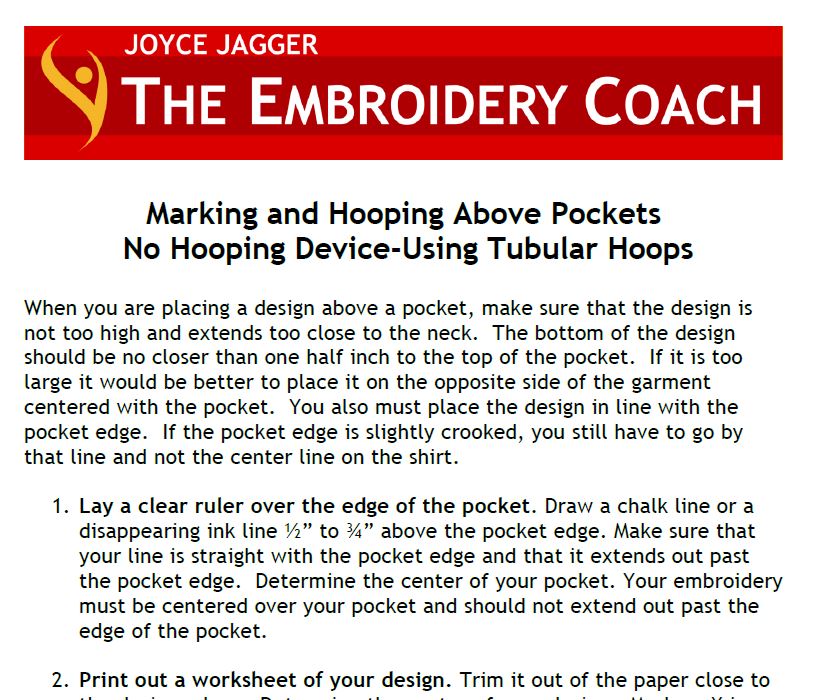
Article: Hooping For Embroidery Above Pockets – No Hooping Device
Marking and Hooping for embroidery above pockets without using a hooping device can be a little tricky, but if you follow some basic rules, you will be very successful. When you are placing a design above a pocket, make sure that the design is not too high and extends too close to the neck. The bottom of the design should be no closer than one-half inch to the top of the pocket. If it is too large it would be better to place it on the opposite side of the garment centered with the pocket. You also must place the design in line with the pocket edge. If the pocket edge is slightly crooked, you still have to go by that line and not the center line on the shirt. Make sure to print out this article and place it in your Embroidery Information Binder.
Link to Article: Marking and Hooping Above Pockets
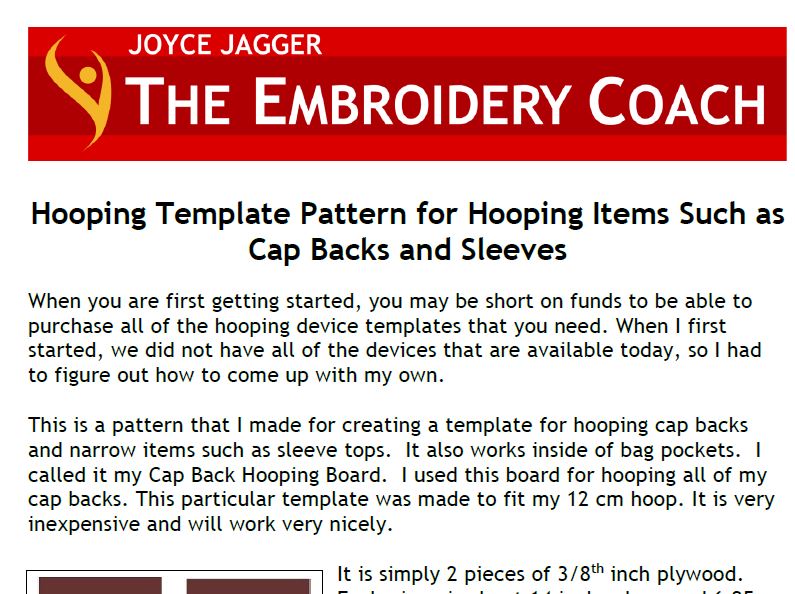
Template: Cap Back Hooping Board Template Pattern
I want to share with you a pattern that I made for creating a template for hooping cap backs and narrow items such as sleeve tops. It also works inside of bag pockets. I called it my Cap Back Hooping Board. I used this board for hooping all of my cap backs for many years until I purchased a hooping device. This particular template was made to fit my 12 cm hoop. It is very inexpensive and will work great.
Make sure you print this out and place it in your Embroidery Information Binder.
Link to Template:Hooping Board Template
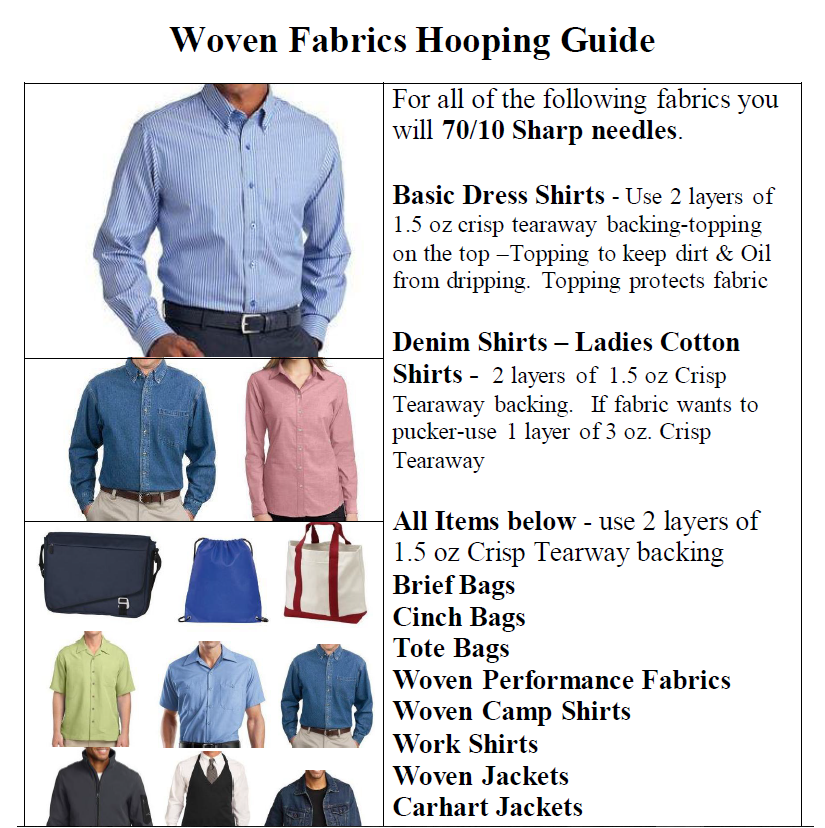
Guide: Hooping Guides For Woven & Knit Fabrics
In this section, I have included a Hooping Guide for woven and knit fabrics. Each of these guides include a needle size and backings to use for specific items. This is especially important when you are training a new embroiderer. All of the basic information is on the guide.
Print these out and keep them in your Embroidery Information Binder for easy access. Print out another copy, laminate it and tape it to the hooping table or place it on the wall above the hooping table.
Link to Woven Fabric Guide: Woven_Fabrics_Hooping_Guide
Link to Knit Fabric Guide: Knit_Fabrics_Hooping_Guide
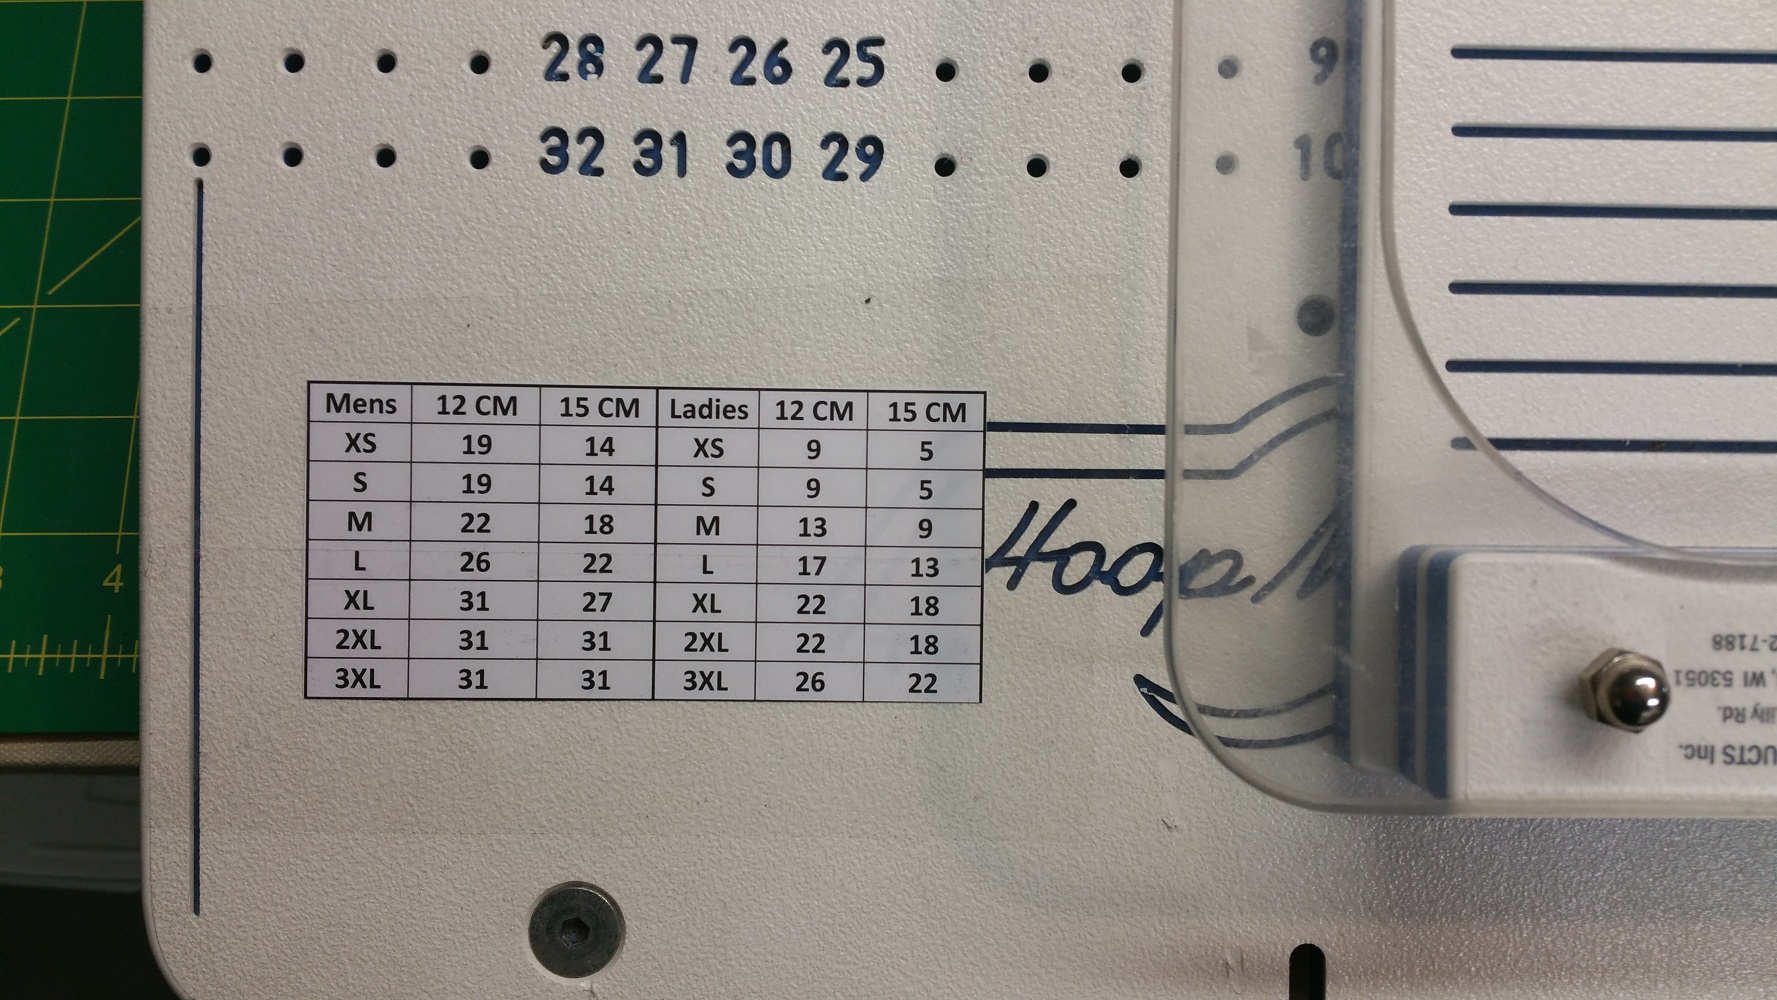
Article: Hoop Master Settings
This document shows you all of the settings that I have used for many years. These settings should work for the placement of your left or right chest embroidery designs. You will see that there are settings for both Men and Ladies. There are also different settings for whether you are using the 12 cm hoop or the 15 cm hoop. That is because the center of the hoop is held in a slightly different position on the board with each of these hoop sizes. In order to keep the center of the 15 cm. hoop in the same location on the board as the center of the 12 cm. hoop, you need to move it up one hole position.
For Magnetic Hoops: If you are using the Magnetic hoops, you will need to make some adjustments to the numbers. They are a little different. Mark your garment using the Left Chest Placement guide and slide it over the HoopMaster and find the center of the hoop. Move your Magnetic Hoop template to the right position that will be in the center of the design. That is the number that you will use for the size of the garment. Repeat this process for each size until you have each one charted. This will be your new chart.
Print these settings out and attach them to your HoopMaster.
Link to Article: HoopMaster Settings